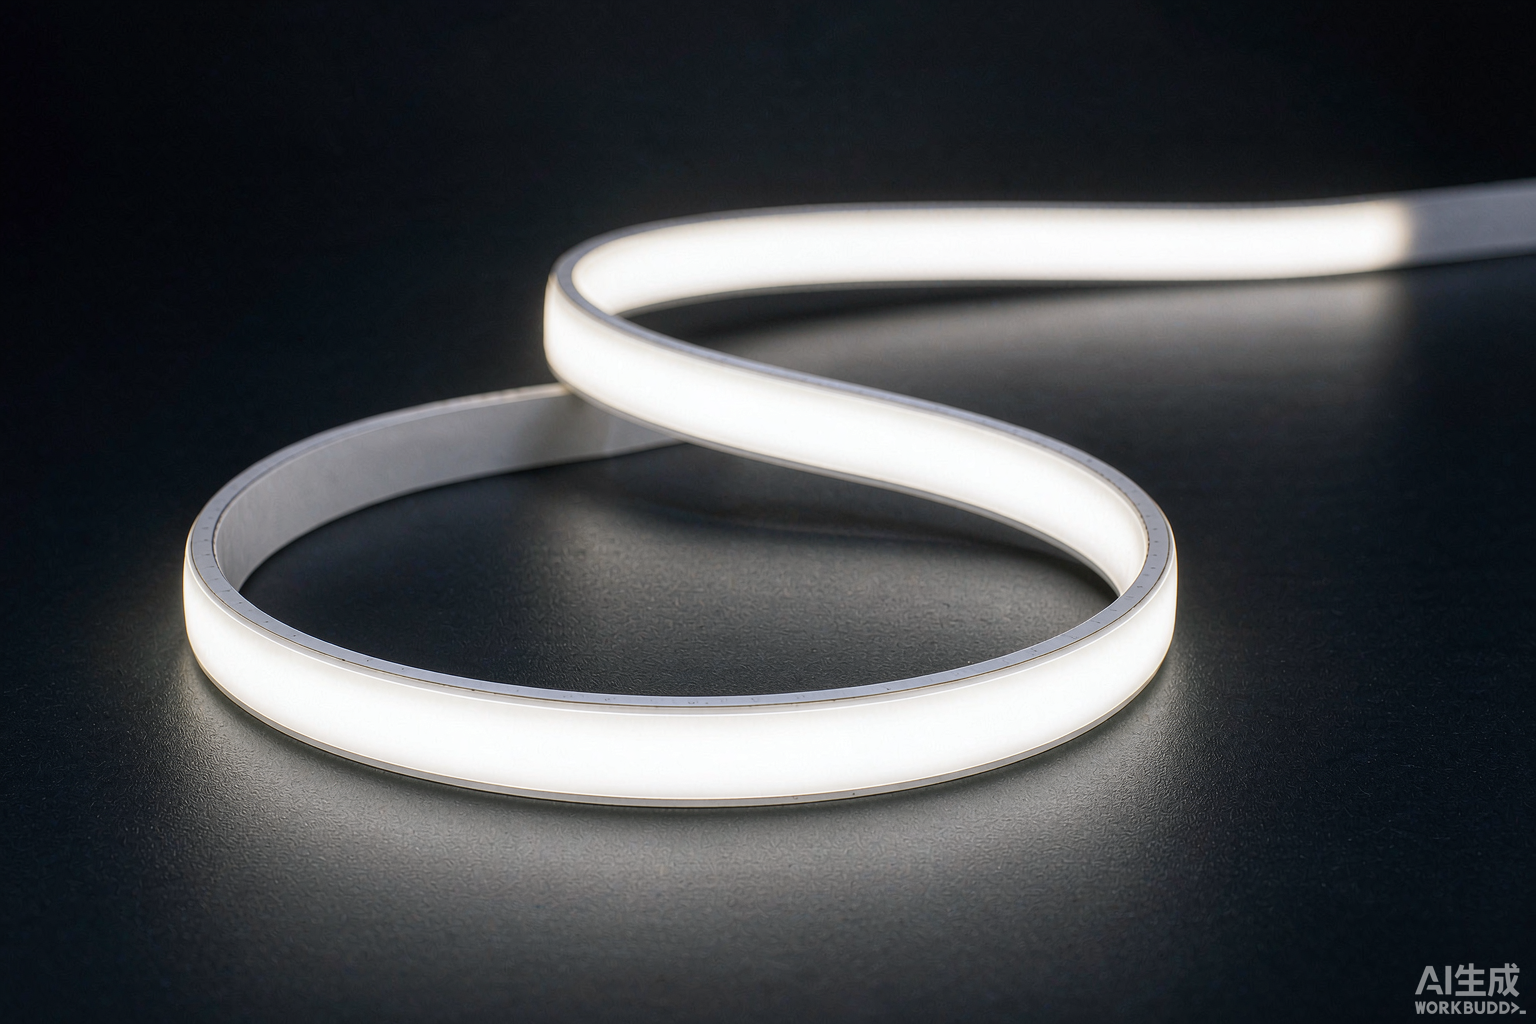
COB LED Strip 320 LEDs/m
Cost-optimized COB strip for projects that need a smooth light line at a balanced price point.
8W/m · DC24V · IP20 / IP65
The four steps that decide whether the installation survives five years.
Use the scissor mark between two solder pads. Sharp blades, straight cut, no pulling on the pads.
Alcohol wipe, dry fully. Tape on dust fails within a season, especially in kitchens and workshops.
Clip or channel at 300-500 mm centres. Adhesive alone is a temporary fix on any vertical or external run.
Silicone end cap plus heat shrink. Water enters at ends, never through the jacket.
Energise, measure voltage at the far end with a meter, and check both ends are within 5% of the supply. Then close the cavity.
Tag and keep one installed metre and one spare reel labelled with the order number. The next phase starts from it.
Cost-optimized COB strip for projects that need a smooth light line at a balanced price point.
8W/m · DC24V · IP20 / IP65
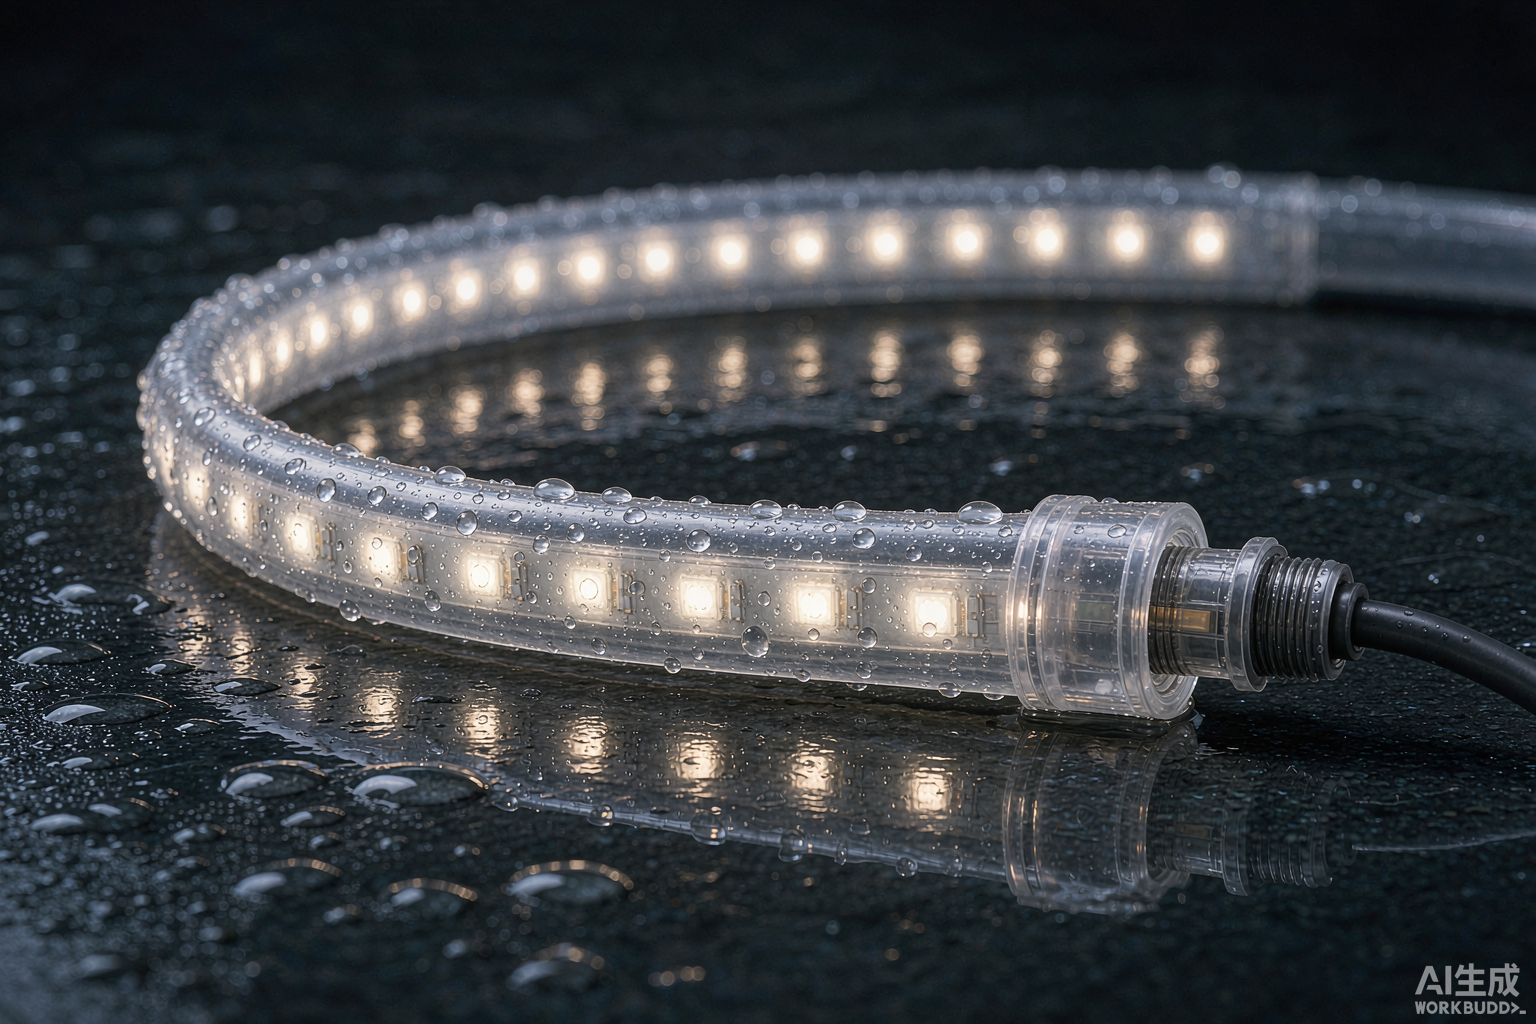
Fully encapsulated strip for outdoor, underwater-adjacent and harsh environments. Silicone tube or full potting options.
9.6W/m / 14.4W/m · DC12V / DC24V · IP65 / IP67 / IP68
Send the quantity and the market. We quote against this spec, with the tolerances written in.